
Today we went to HUBO (a DIY-shop). It was a success. We've found what we were looking for, regarding our riverbank-background: peet (we still have 7x 80-liter bags), something to grow roses on, mulch, 4 types of bask of trees, ground to grow plants in, etc. If my nephews are willing to lend me their warehouse once more, so we can dry all these ingredients, it is our intention to throw everything together, mix it with epoxy (porridge) and use the result to coat the background of our riverbank-background.
We hebben vadaag een vervangtoestel voor de airbrush gekocht en 2 bussen PU-schuim. / We've bought today a replacement for our airbrush and 2 cans of PU-foam.
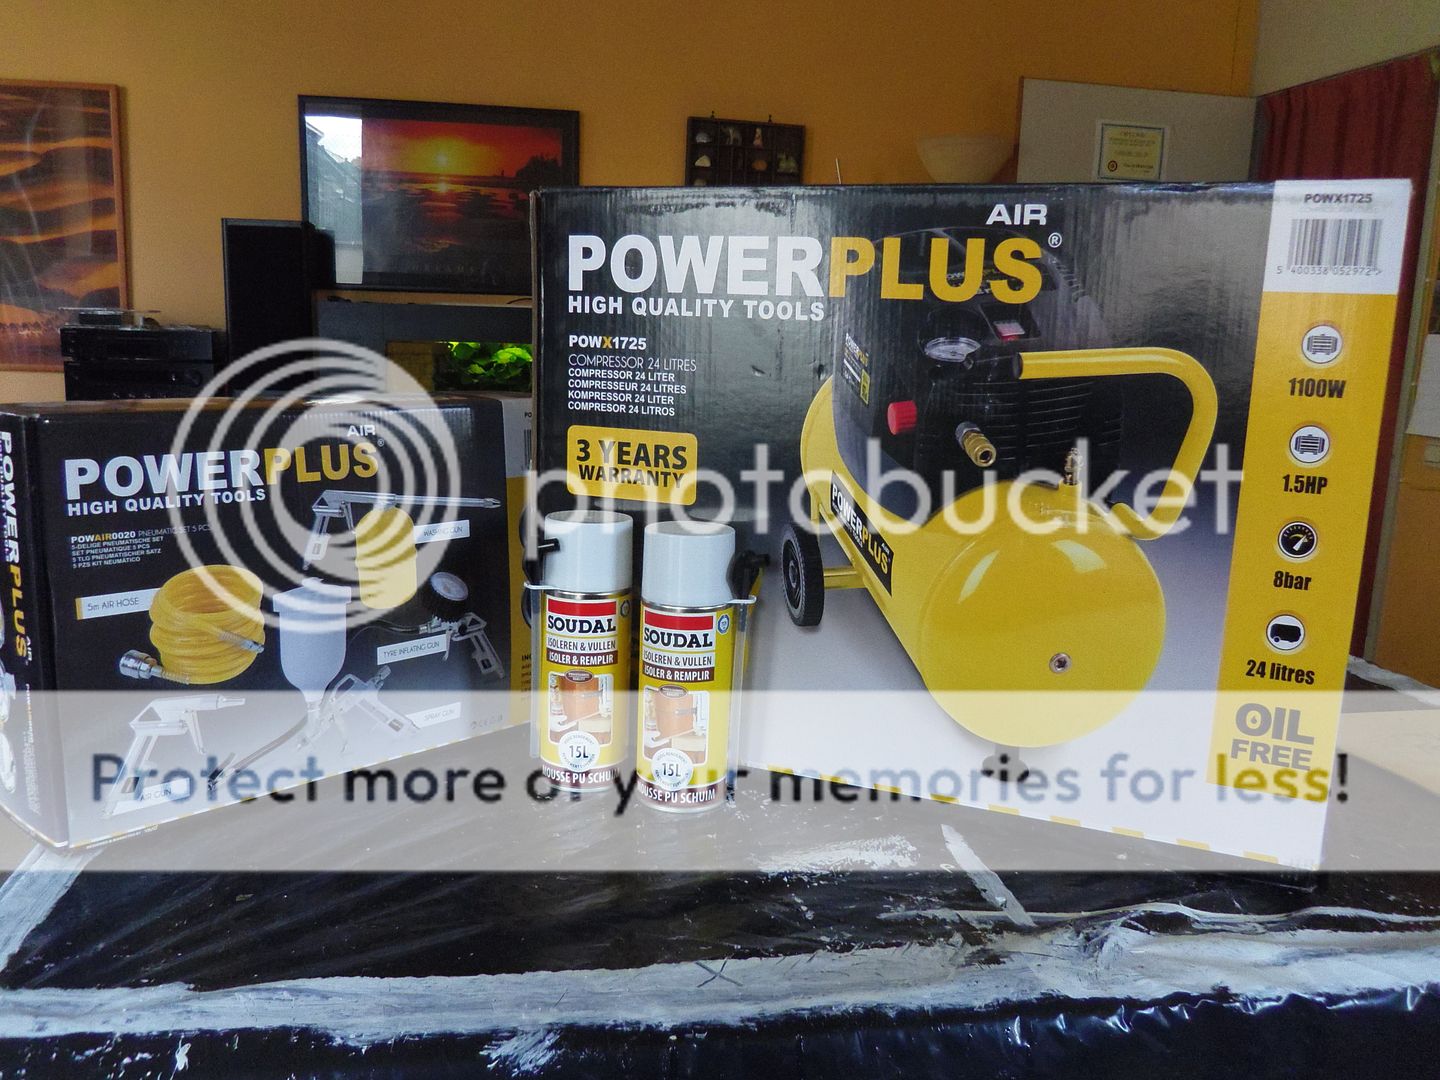
Ons nieuw schatje: rechts staat de compressor en links ligt de verfspuit. / Our new babe: the compressor stands on the right, while the spray-gun is situated on the left.

Daarna is ons decor ingeladen. Ongetwijfeld herken je van de tekening het boompje, links, en de stenen met wortels, rechts. Het decor is ongetwijfeld een overladen decor. Maar, we wilden alle technieken uitproberen die we de volgende jaren nog zullen nodig hebben. / After which our background (decor?) is placed in the mould. No doubt, you recognize our tree (on the left) and our rocks (on the right) from our drawering yesterday. This decor look quite heavy. But, we wanted to try out all the different technics, that we are going to use in the comming years. And, this is the result.

Daarna teken ik de raakvlakken af. / Then, I draw the spots where our decor is attached to our background.

Tot we deze tekening krijgen. Opnieuw verwijs ik naar gisteren. In het centrale gedeelte zullen we turfbrij hanteren als bekleding. In de 2 andere gedeelten zal tegellijm gebruikt worden, uitgekrast als onze stenen, bespoten met 3 kleuren (zwart wordt gebruikt als achtergrondkleur in het centrale gedeelte), bijgewerkt (hopelijk) met onze nieuwe 'airbrusher', en nadien wordt er tijdens het epoxyceren turf over gestrooid. De 2 cirkels en het ovaal in het rechterdeel zijn de aanhechtingspunten van onze wortels en stenen aan de achterwand. Daar wordt enkel een kleur (zwart) over gezet. / Until we get this picture. Again, I refer to yesterday. In the central part, we will use porridge of peat to coat the background. In the 2 other parts, we're going to use glue for tiles. This glue of tiles will be scratched out (like our rocks). Then we'll use our original spray gun and colour it with 3 colours (we will use black in the central part). We'll try out our new 'airbrusher' after that. And, while we use epoxy, we will throw peat in the wet epoxy. The two circles and the oval shape that you see, are the spots where the decor is attached to the background. We will use only the colour black to coat these spots.

Goed, het werk ligt op ons te wachten. / Alright, our work is waiting.


Ons schatje. / Our babe.

Ons schatje en Ayla. / Our babe and Ayla.

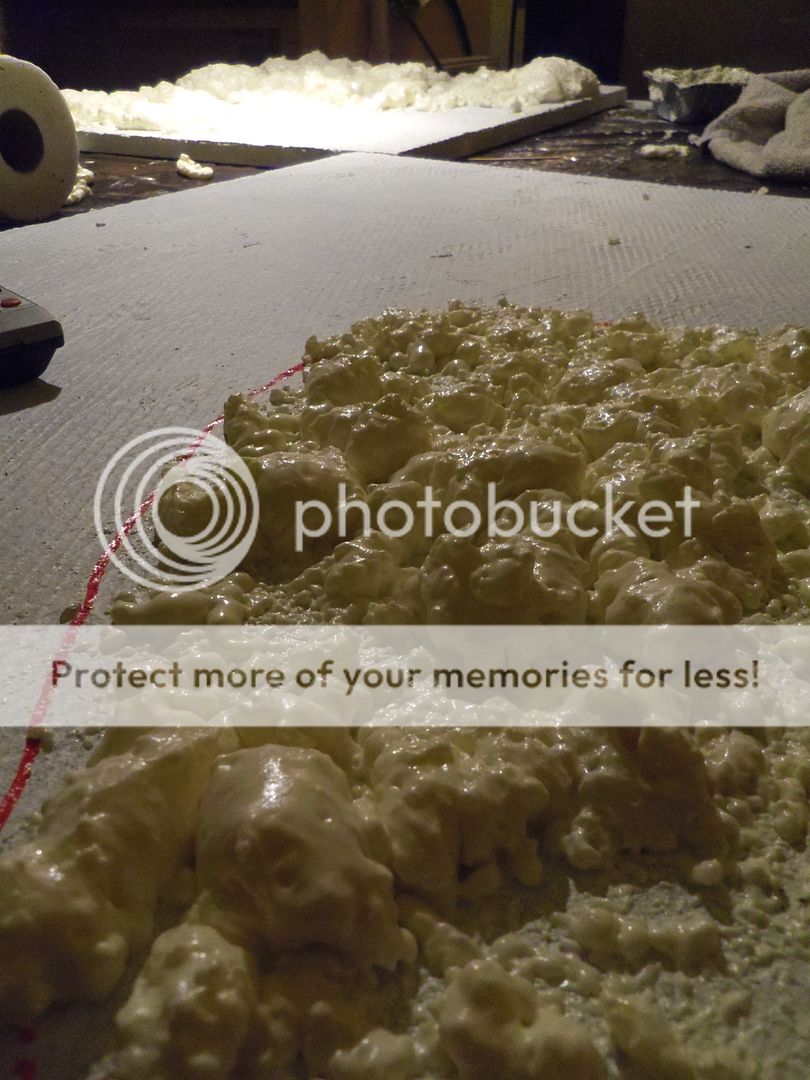
Eerste werk: zorgen dat er, in de rotsgedeelten, relief komt door PU op de achterwand te zetten.
Het resultaat, als de PU nog nat is (en verschrikkelijk kleverig).
Plaat 1.
First job: we're creating depth in our background by putting PU-foam on the background. The result, when the PU-foam is still wet (and very sticky).
Plate 1.


Plaat 2. / Plate 2.

Het resultaat, als de PU uitgehard is. / The result when the PU-foam is dry.
Plaat 1. / Plate 1.


Plaat 2. / Plate 2.


Geen opmerkingen:
Een reactie posten